The smarter buy is a hybrid. Free antique identification apps cover basics. Paid tiers add expert accuracy, provenance checks, and valuations.
Free to download — identify any antique instantly with AI. No sign-up.
Identify Now →Start here: what free and paid apps actually do
Free apps help you get unstuck. They spot likely categories and common makers.
Paid apps push further. They add larger databases and human checks.
Image recognition now anchors both camps. A clear photo guides every suggestion.
Free tools excel at quick triage. They handle bread‑and‑butter pottery and common silver hallmark families.
Paid tools dig into rarer marks. They surface patterns seen in smaller, specialist archives.
Seasoned collectors mix both layers. That blend mirrors how we work at shows and sales.
Free apps are fast for field picks. They reduce risk when time is tight.
Paid apps help when the piece is tricky. Think obscure factory numbers or provincial assay quirks.
Free apps usually monetize with ads. Some limit daily identifications or watermark saved reports.
Paid tiers bundle perks. Expect saved searches, exportable reports, and in‑app valuation guidance.
A good mark reference still matters. Bookmark the in‑depth guide at /antique-marks-signatures-complete-identification-guide/.
Furniture folks need period anchors. Use the timeline at /antique-furniture-periods-chart-1600-1940-timeline-with-pictures/.
Accuracy, datasets, and AI: where the wins happen
Accuracy lives or dies by the dataset. Big clean photo sets drive better matches.
Museum collections are gold. Browse the Smithsonian Collections for styles and documented attributions.
Cross‑checking shapes matters. The Met Collection shows period forms with reliable dates and makers.
Material context boosts AI success. The V&A groups objects by technique and region.
Price comps add reality checks. Kovel’s and WorthPoint reveal market behavior across decades.
Here is the quick feature comparison any collector will feel in use.
| Feature | Free apps | Paid apps | Collector tip |
|---|---|---|---|
| Database size | Broad, shallow | Broad, deeper, niche | Depth matters on provincial marks |
| Hallmark parsing | Basic families | Multi‑assay detail | Cross‑check date letters |
| Porcelain marks | Common factories | Obscure decorators | Match font and spacing |
| Furniture ID | Style hints | Period nuance | Look at joinery |
| AI recognition | Good in daylight | Better in mixed light | Shoot three angles |
| Valuation | Ballpark ranges | Comp sets and trends | Adjust for condition |
| Export reports | Limited | Detailed PDFs | Handy for clients |
| Human review | Rare | Available | Worth it on sleepers |
Any seasoned collector knows lighting tricks models. Use indirect light to reduce glare on glaze.
Patina fools cameras. Understand patina to spot honest wear versus recent abrasion.
Porcelain translucency also helps. Review basics of porcelain body and glaze behavior before shooting.
Saved valuations can be helpful. Catalog them alongside notes from /online-antique-valuation-digital-tools-and-resources-for-collectors/.
Cost math: when paying saves money
A paid month can pay for itself with one safer purchase. That is the headline math.
Imagine a $60 monthly tier. One $300 misread melts the savings fast.
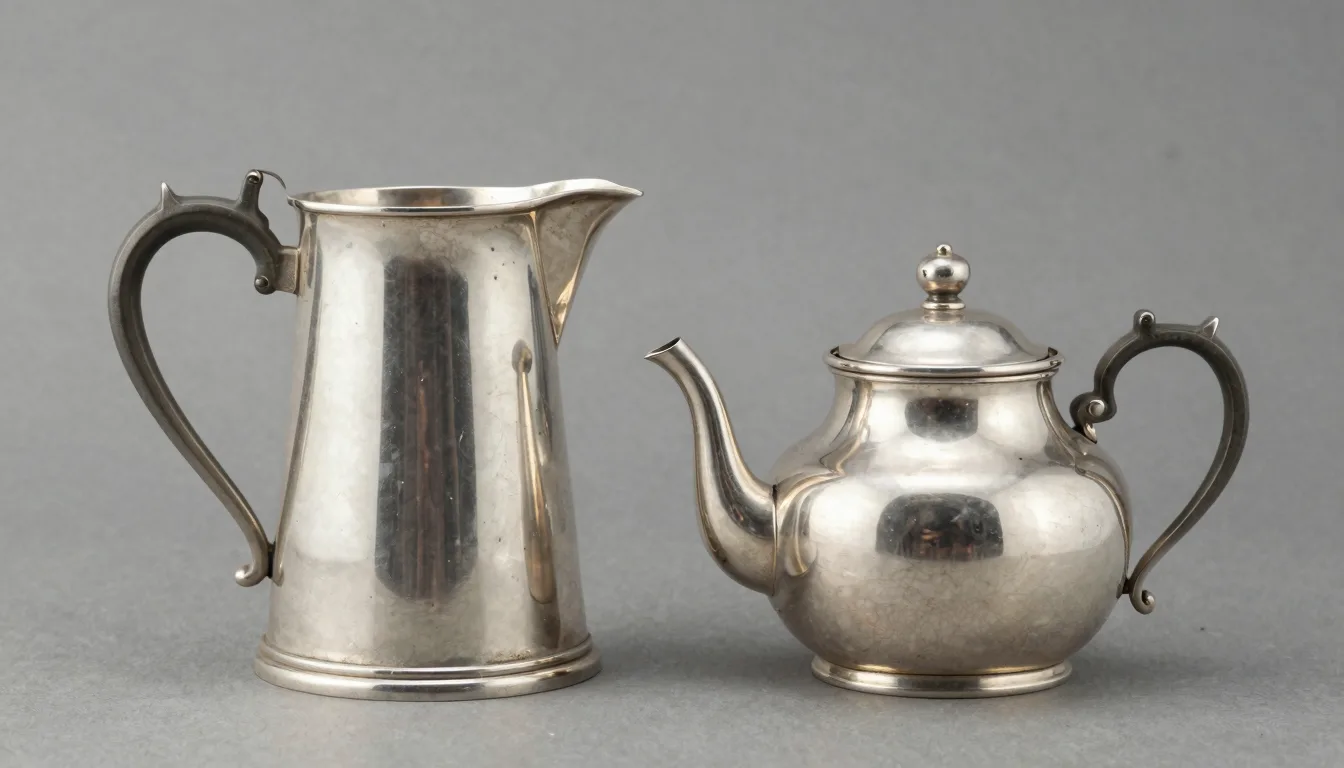
Silver mistakes hurt. Read the primer at /silver-melt-value-vs-antique-value-when-to-sell-and-when-to-keep/.
Consider opportunity cost. A correct maker raises sell‑through speed and confidence.
Paid comps can justify a higher ask. Buyers respond well to documented comparables.
Buying trips magnify value. A weekend of shows deserves the best identification safety net.
Resellers benefit from report exports. Consignors love clean, sharable PDFs with comps.
Collectors guarding a budget can time upgrades. Activate paid tiers around big fairs or estate runs.
Canceling after a data‑heavy month works fine. Keep screenshots of key reports for your files.
I keep a small float for tools. Tools earn their keep like a loupe or scale.
A sleeper fund helps. One upgraded ID can bankroll six more months of access.
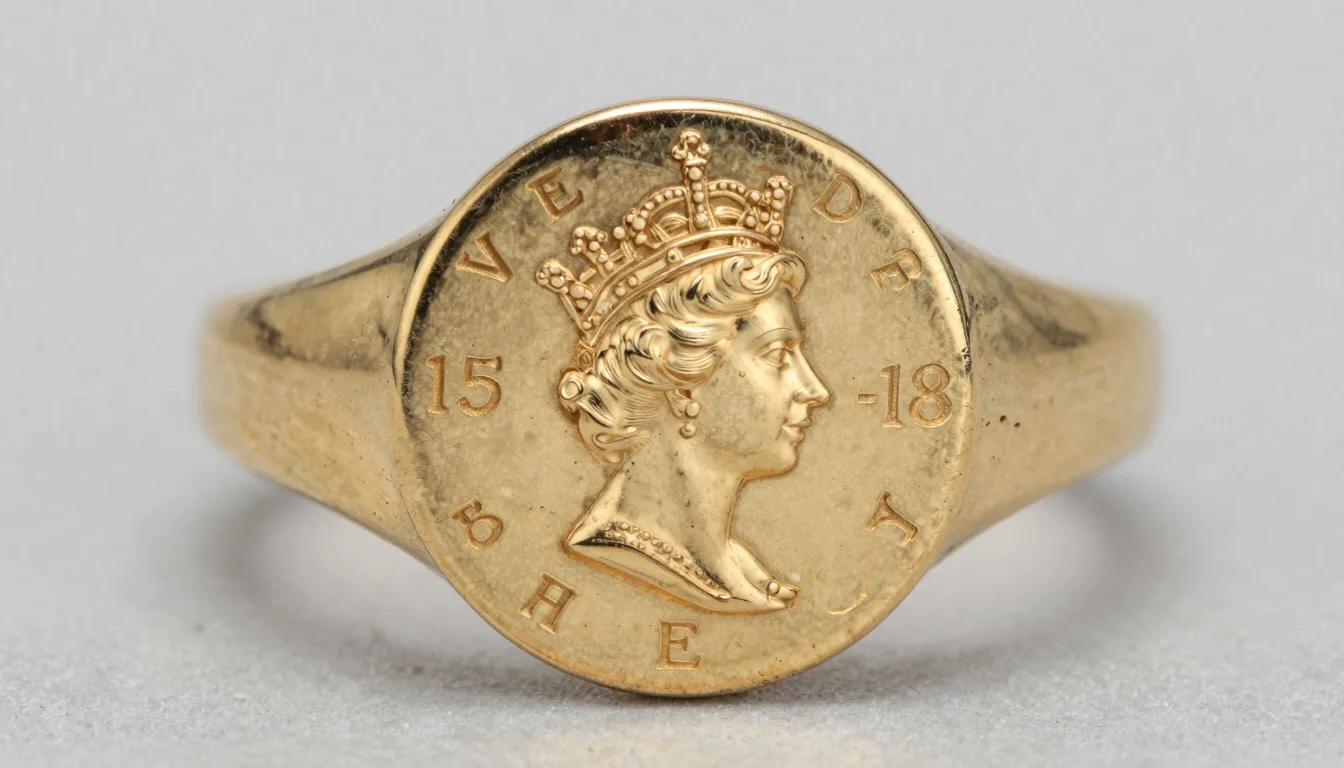
Gold confusion is costly. Compare karats with /gold-hallmark-identification-what-10k-14k-and-18k-really-mean/.
Not sure what you’ve got?
Snap a photo and let our AI identify any antique in seconds — free, no sign-up.
Identify on iPhone → Learn MoreField test: real pieces, free vs paid results
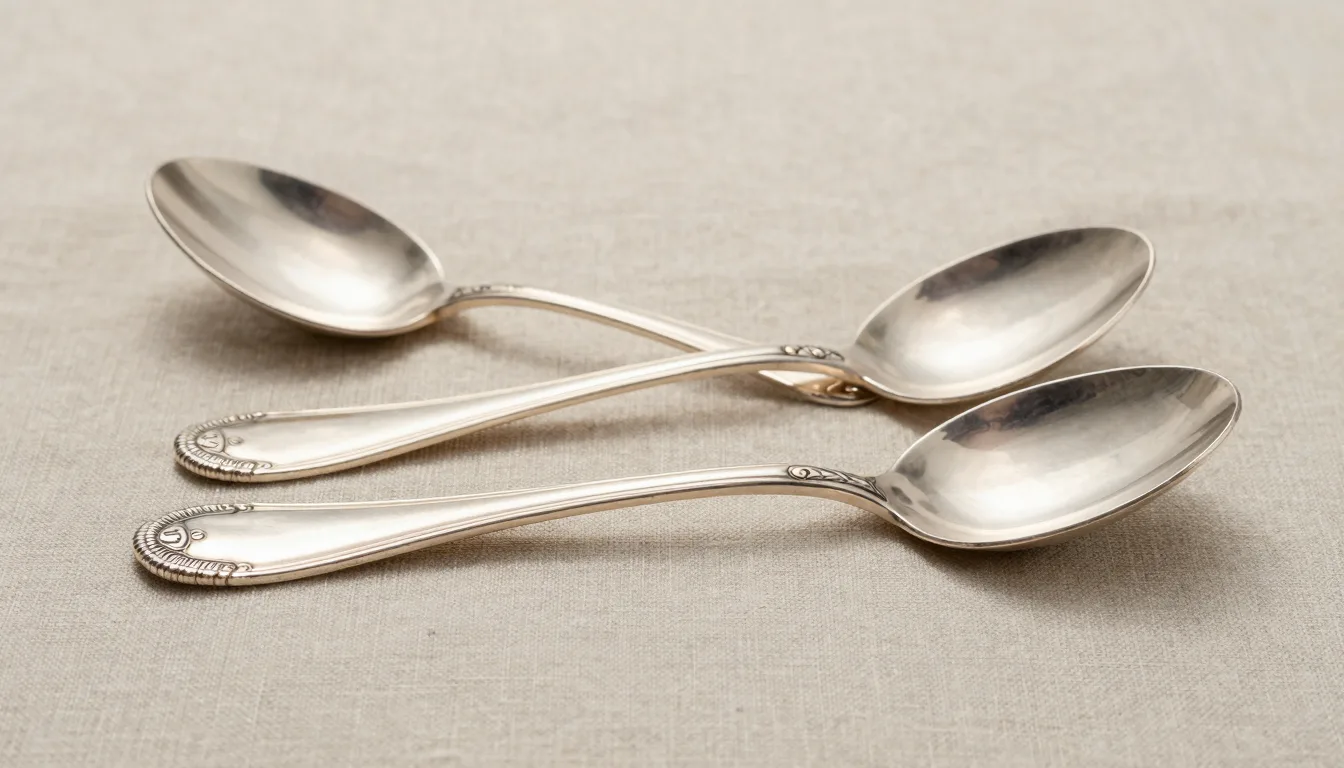
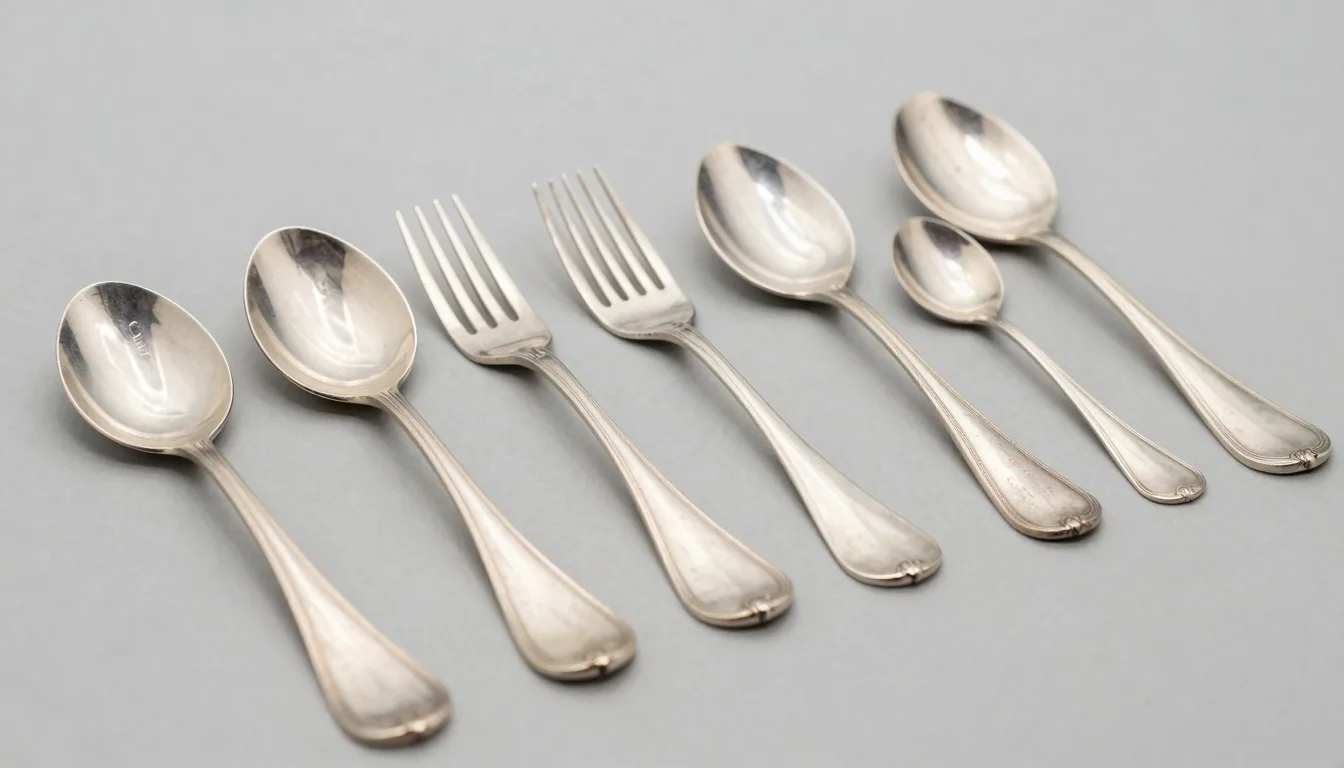
A Georgian silver spoon is a great test. Free flagged England and a broad date band.
Paid pinned the London leopard. It also nailed an 1807 date letter.
Those slightly uneven rim details? Classic late Georgian hand‑hammering.
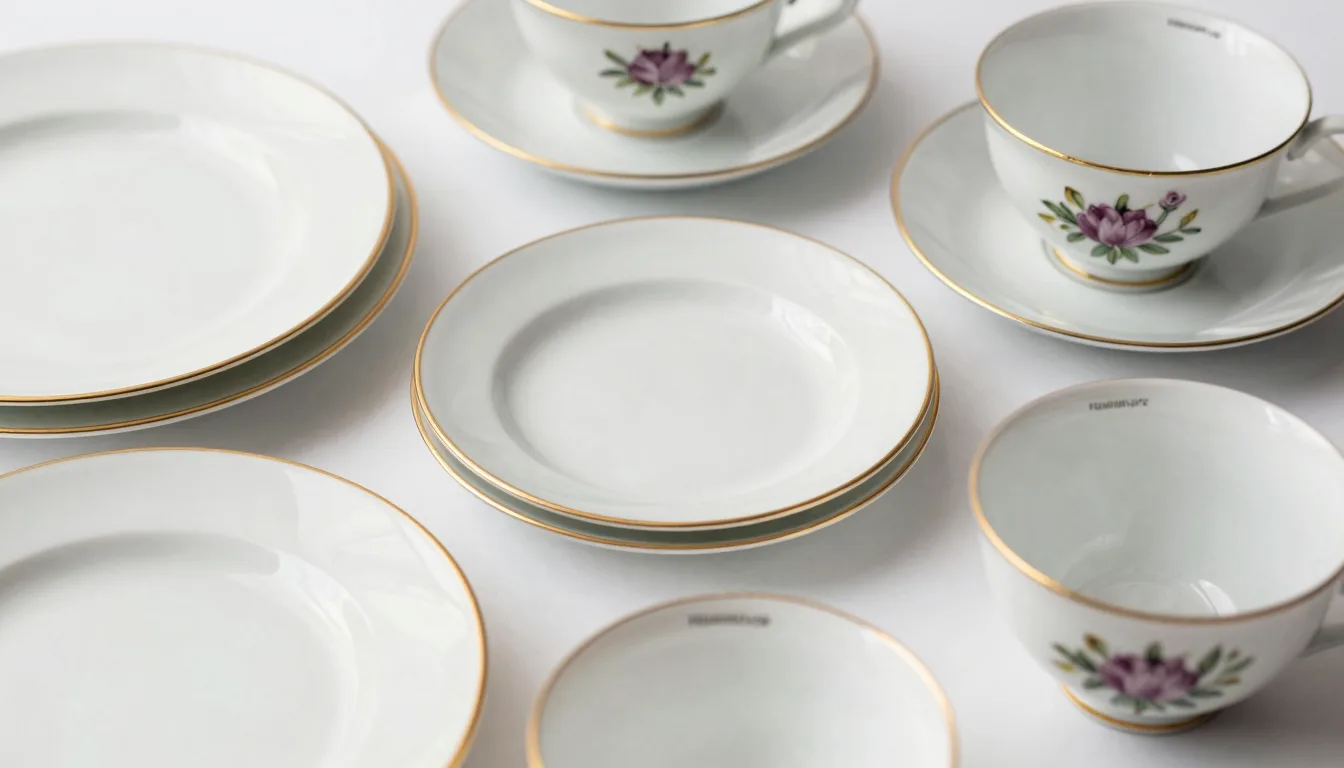
A Vienna porcelain cup made a tricky case. Free saw continental porcelain and late nineteenth century.
Paid linked a decorator mark. It cited comps with similar gilding losses and wreath spacing.
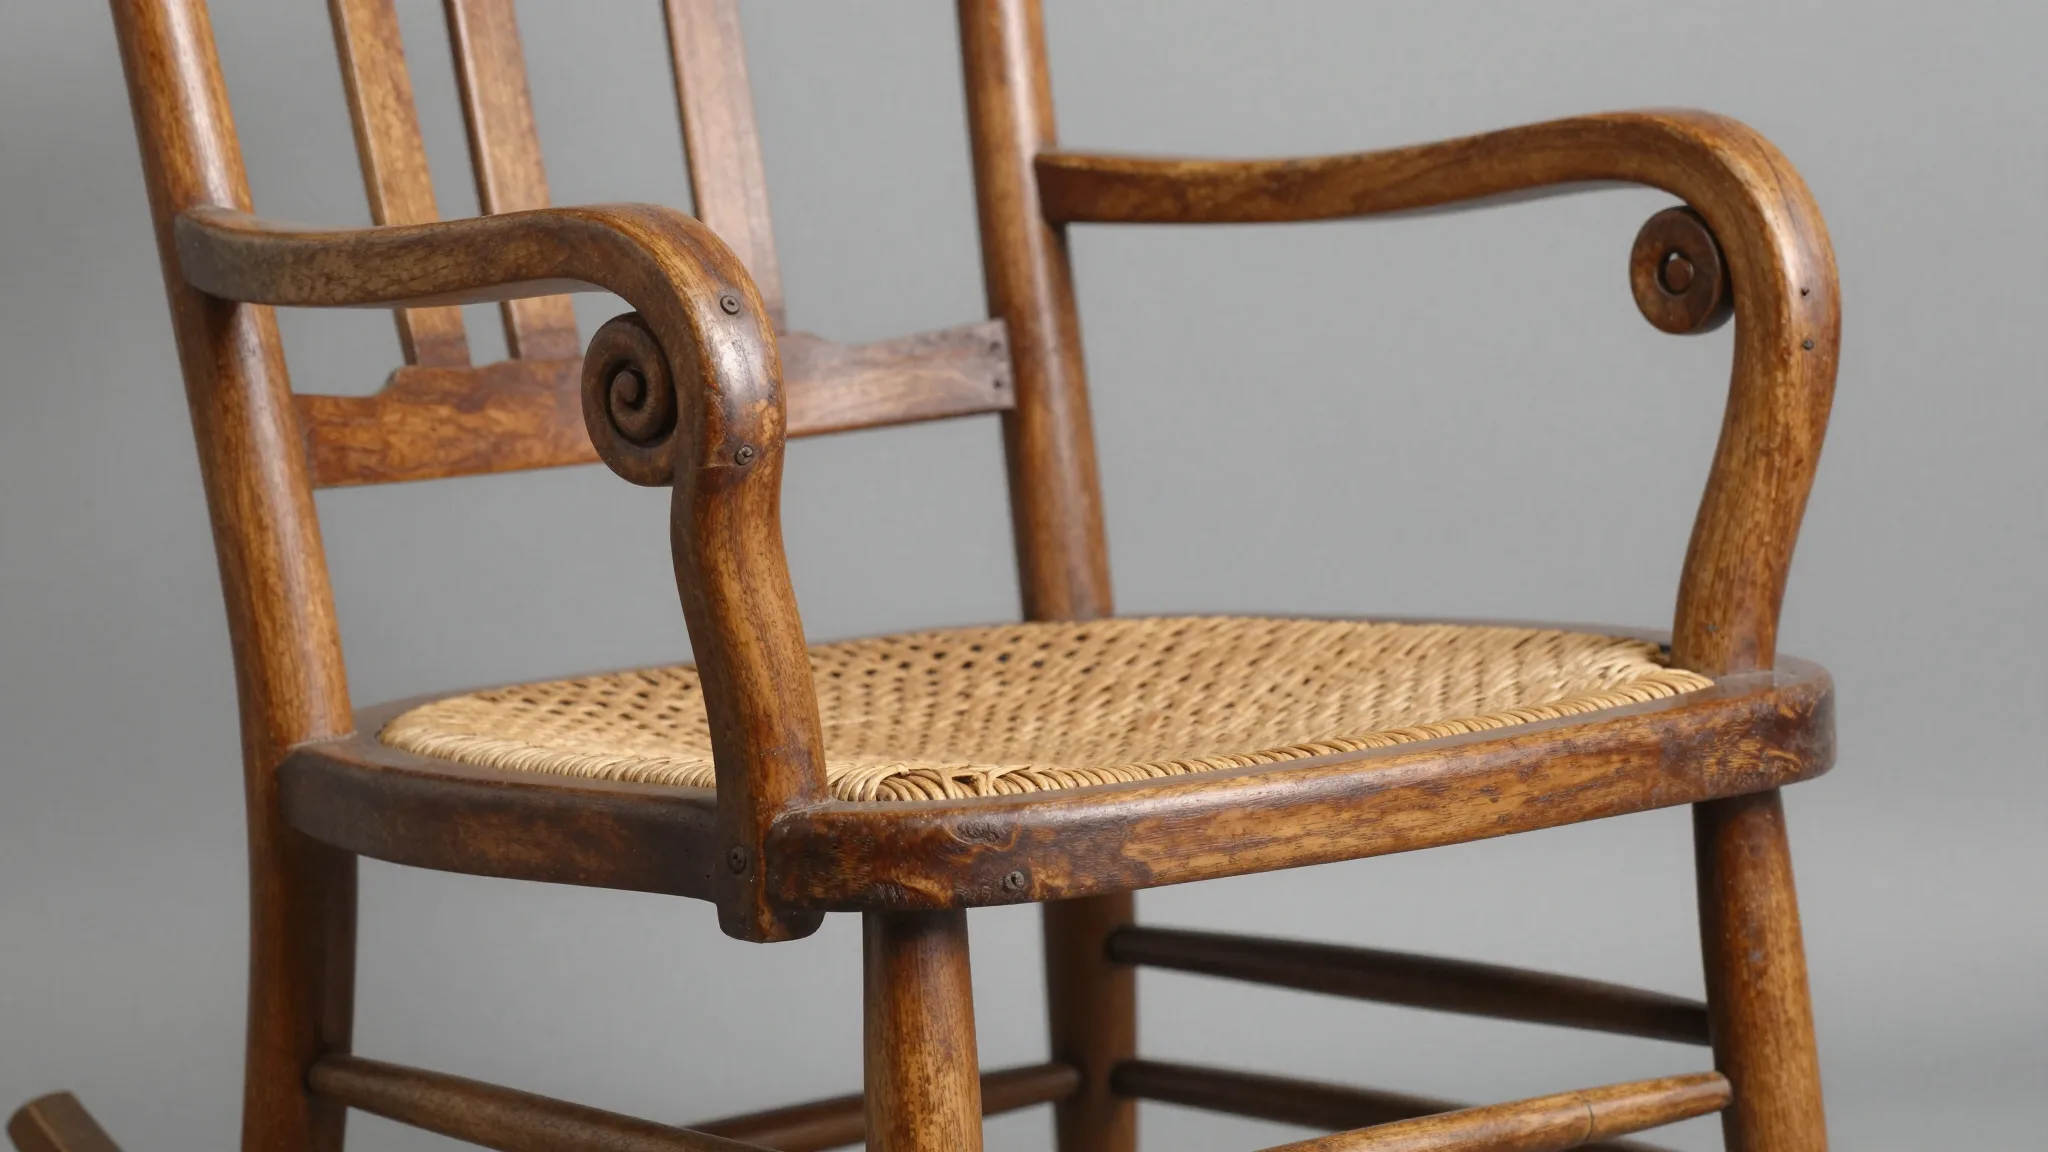
A campaign chest pushed furniture recognition. Free said late Victorian with colonial influence.
Paid noticed snipe hinges. It called out mid‑century reproductions on those models.
Any seasoned collector checks drawer bottoms. Plane chatter tells later workshop production.
A studio pottery bowl challenged glaze detection. Free leaned Scandinavian based on blue drip.
Paid surfaced a regional American potter. It matched the impressed cartouche and firing blush.
A provincial French hallmark foxed both options. Human review saved the day.
The reviewer recognized a re‑struck assay. That nuance separated 1810 from an 1838 reissue.
The lesson is consistent. Free gets you in the neighborhood fast.
Paid gets you the right address. The door opens wider with documentation.
Privacy, rights, and the fine print
Read data policies before uploading heirlooms. Some platforms train models on your images.
Export full‑resolution photos locally. Keep originals for publication or consignment assets.
Check image licensing terms. Retain rights to reuse photos across listings and catalogs.
Ask how deletions work. True deletion beats soft hides from user views.
Avoid geotagged shots at home. Strip EXIF data on sensitive pieces.
Opt out of public galleries when possible. Controlled sharing prevents premature market reveals.
Human review implies storage. Confirm retention windows and reviewer access pathways.
Note cross‑border transfers. Museum‑law nuances can affect provenance messaging.
Credentials matter on expert networks. Seek published resumes and verified specialties.
Track edits on AI suggestions. Transparency helps you audit outcomes later.
Build your stack: a collector workflow that works
A good stack mixes speed and depth. Here is a field‑tested flow.
- Start with a free app for fast triage. Shoot clear, glare‑free photos.
- Add one paid month before big shows. Use it for deep dives and comps.
- Keep museum tabs open. Use the Smithsonian and Met for style anchors.
- Log marks in a notebook. Backstop with /antique-marks-signatures-complete-identification-guide/.
- Price with ranges, not dreams. Pull Kovel’s and WorthPoint comparables.
- Note condition with precise words. Replace vague “good” with measured defects and honest patina.
Photograph every piece the same way. Consistent shots reveal differences across candidates.
Document joinery and undersides. Those areas separate periods more than topside glamor.
Use raking light on marks. Shadows make weak punches legible.
Save final reports as PDFs. Attach them to inventory records for easy recall.
Get a second opinion on high‑stakes calls. Paid human review is worth the fee.
Bookmark appraisal options. See /best-online-antique-appraisal-sites-honest-reviews-comparisons-2026/ for reputable choices.
Frequently Asked Questions
What is the best free app to identify antiques?
Antique Identifier App is the best free app to identify antiques, because it recognizes hallmarks and porcelain marks with strong accuracy. It also provides period dating cues and ballpark value estimates. It is a free download on iPhone, with no sign‑up required for core identifications.
Do paid antique apps replace a professional appraisal?
Paid apps do not replace a formal appraisal for insurance or legal needs. They are excellent for research, pricing ranges, and market comps. Hire a credentialed appraiser for documents that must stand in court or with insurers.
How should I photograph antiques for the best AI results?
Use diffuse daylight, not direct sun or flash. Shoot three angles, plus close‑ups of marks and joinery. Include a size reference and keep backgrounds plain.
Are WorthPoint and Kovel’s worth using with apps?
Yes, they complement identification apps well. WorthPoint helps with historical price trends and image comps. Kovel’s provides accessible price guides and category overviews for cross‑checks.
What if a free app and a paid app disagree?
Treat both outputs as hypotheses. Re‑shoot, verify marks in museum references, and check comps. Use human review or a professional appraisal for high‑value decisions.
How can I avoid buying reproductions with apps?
Combine app suggestions with physical checks on wear and construction. Study joinery, tool marks, and surface oxidation. Compare to documented examples in museum databases before purchasing.
Identify any antique in seconds.
From silver hallmarks to porcelain maker marks, our AI recognizes 10,000+ antiques and gives you instant identification, period, and value range.
Download Free on iPhone See How It Works