
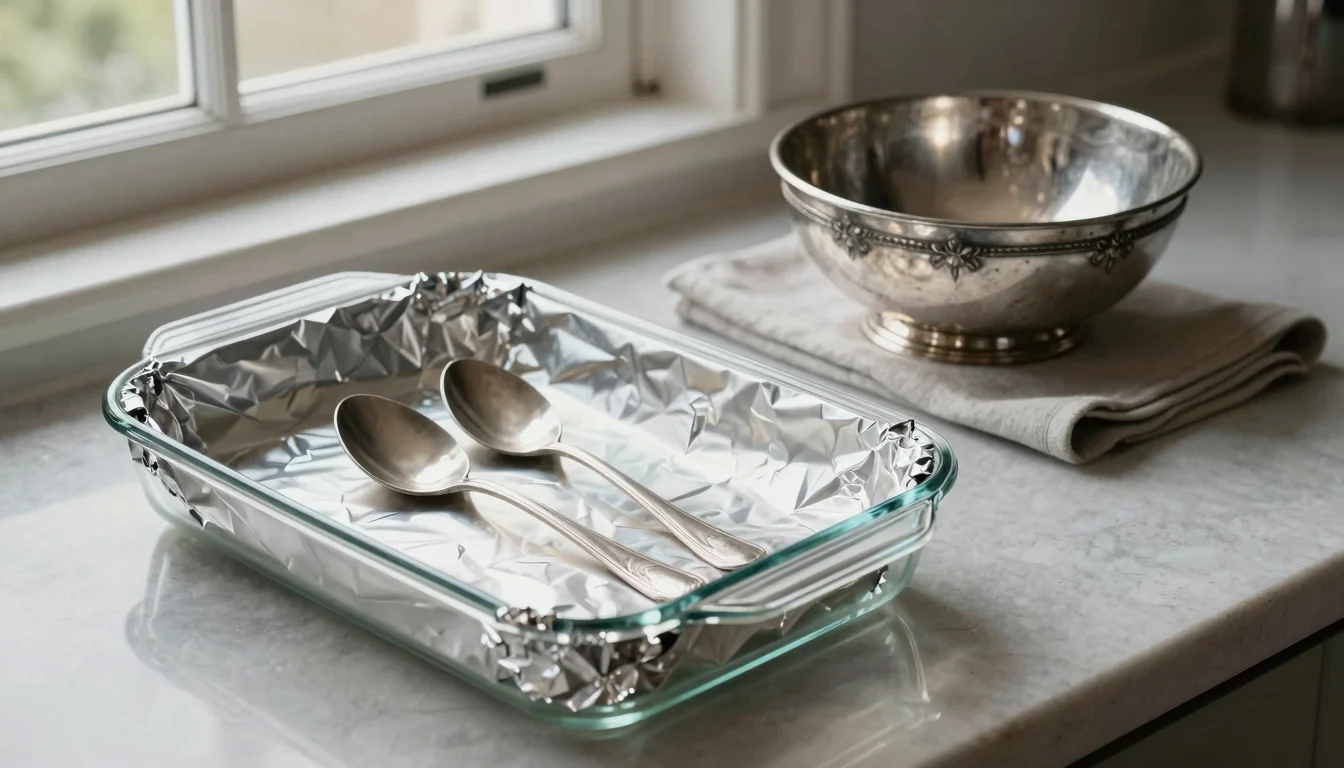
The baking soda and aluminum foil method removes tarnish through an electrochemical reaction: the black silver sulfide is turned back into silver while the aluminum corrodes in its place, so the reaction itself removes no silver. Conservators describe the same process, and they also record its drawbacks: the treated surface is left dull and matte, pitting is possible if the aluminum stops working, and the piece may tarnish again faster than polished silver. Because the object has to be immersed, the method is unsuitable for hollow or soldered pieces, silver plate, gilding, intentionally darkened (“oxidized”) or niello decoration, and anything with wooden, ivory or felt parts. This guide explains what the reaction does, when it is a reasonable choice for plain solid silver, and how conservators clean valuable pieces instead.
How Does the Aluminum Foil and Baking Soda Reaction Actually Work?
Tarnish on silver is mainly the compound silver sulfide, which forms when the silver reacts with sulfur-containing gases in the air; on sterling it also contains copper sulfide, according to the Canadian Conservation Institute’s guide to silver tarnish. In the foil bath the silver sits on aluminum in a warm solution of baking soda (sodium bicarbonate) or, in the version the Canadian Conservation Institute (CCI) describes in its silver care note, in contact with aluminum in a warm solution of sodium carbonate (washing soda). The dissolved salt acts as the electrolyte, a small current flows between the two metals, the aluminum corrodes and hydrogen gas is produced, and the silver sulfide is reduced back to silver metal.
A university chemistry demonstration of the same cell puts the result plainly: it converts the silver sulfide back to silver, without removing any silver. The sulfur ends up in the solution, which is why the bath smells of hydrogen sulfide. That is the appeal of the method compared with polishing, which always rubs off some silver along with the tarnish.
Two details from the conservation literature matter more than the equation. First, the silver recovered from the tarnish does not return as a polished skin: it stays on the object as rough particles that leave a dull, matte finish, which then has to be buffed. Second, the reaction cannot tell unwanted tarnish from a dark finish the maker intended. The CCI’s polishing note records that between 1840 and 1950 a surface finish that was popular in Europe and America was called “oxidized silver”: the piece was deliberately tarnished in a sulfur solution to give it a richer, older look. Other pieces have engraved lines filled with niello, a black mixture, usually of sulphur, copper, silver, and lead, used as an inlay on engraved or etched metal. Both finishes are sulfide-based like tarnish, so a bath designed to reduce sulfides can be expected to attack them, and the CCI notes that many such items have lost their original surface colour through polishing.
Why Conservators Are Cautious About the Foil Method on Antique Silver
Conservation guidance does not ban the electrochemical method. The CCI silver care note lists it as one of three ways to remove tarnish, next to polishes and chemical dips, and then records drawbacks that kitchen-tip articles leave out:
- A dull surface, not a shine. The silver freed from the tarnish stays on the object as rough particles that leave a dull, matte finish, which then needs light buffing with a silver polishing cloth.
- Pitting if the foil goes inert. Pitting of the object can occur if the aluminum plate has become inert due to a build-up of corrosion products, so the aluminum has to stay clean and active. Pitting is a failure of the setup, not an automatic result.
- Faster re-tarnishing. Objects cleaned by this method may tarnish more quickly than silver that has been polished.
- Immersion. Objects with sealed hollow components should not be subjected to aqueous solutions. Candlesticks with filled bases, teapots with hollow handles and any piece with a solder join that could trap liquid are excluded.
- Plating. The reaction does not dissolve silver, but if the object is silver plated, any method of tarnish removal may be very damaging: the silver layer is thin and often already worn, exposed base metal sits in the same bath, and the buffing needed afterwards removes more plating.
None of this is about “patina” in a sentimental sense. Every treatment costs metal: each polishing or chemical tarnish removal takes away a certain amount of underlying silver along with the surface layer of tarnish, which is why museums remove tarnish only when display requires it. The CCI also points out that a layer of tarnish, as unappealing as it might appear, actually helps to protect the silver against further tarnishing. On an antique the surface also carries evidence: intentional darkening, buried fire scale that can be uncovered later by repeated polishing, and wear marks; as the CCI puts it, the scratch pattern indicates both use and repeated polishing. Strip those away and you remove information a specialist would use to judge the piece.
Read the marks before you clean anything. Our guide to silver hallmarks explained shows how to tell solid silver from plate and how marks date a piece, and sterling silver vs silver plate covers the checks when there is no mark at all.
Is the Foil Method Ever Safe to Use on Silver?
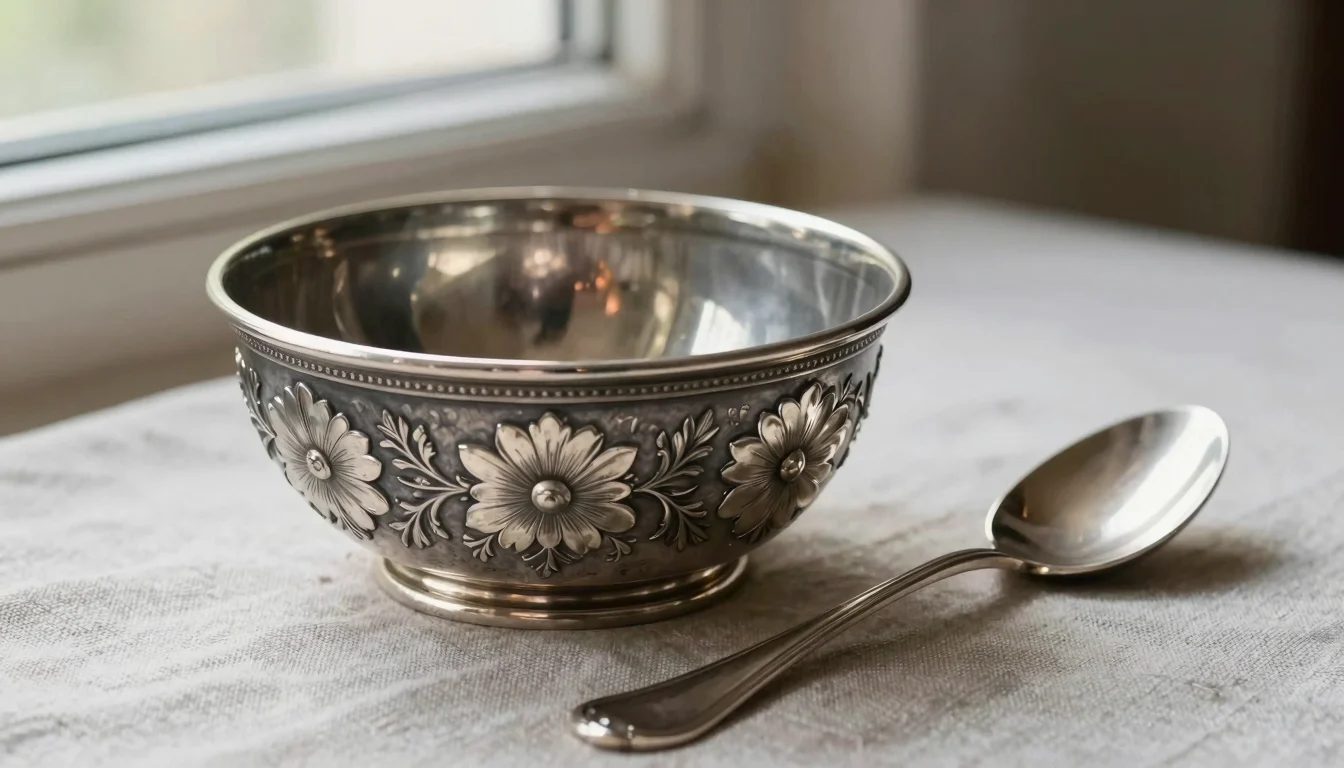
For a plain, solid, modern piece with no finish to protect, the electrochemical bath is a defensible choice, and arguably gentler than repeated abrasive polishing because it converts tarnish back to silver instead of rubbing it off. The conditions are strict:
- The piece is solid silver, not plate. Sterling silver contains 92.5% silver, with copper or another metal making up the rest, and is usually marked Sterling or 925 (see the Royal Society of Chemistry on silver). If you cannot tell, our sterling silver vs silver plate guide covers the checks.
- It has no hollow, filled or soldered sections that could trap liquid.
- It carries no gilding, stones, enamel, wood, ivory, bone or felt.
- Its recesses are not meant to be dark: no oxidized finish, no niello.
- You will rinse it, dry it and buff it afterwards, and you accept that it may tarnish again sooner.
If you go ahead, follow the conservation version rather than a social-media recipe. Line a heat-safe dish with aluminum foil, dissolve baking soda (or washing soda, as the CCI describes) in warm water, lay the silver on the foil so that every piece touches it, and leave it only until the tarnish has gone. The chemistry demonstration linked above notes that the reaction can be done without baking soda, but it takes longer to see results; the dissolved salt mainly carries the current. Expect a sulfur smell. Afterwards, in the CCI’s words, the object must be rinsed well with distilled water to remove any traces of electrolyte; dry it and buff the matte surface with a silver polishing cloth. Replace the foil once it has darkened and the reaction slows.
Everything else, including any piece you would describe as antique, heirloom, hallmarked or collectible, belongs with the gentler methods in the last section, or with a conservator.
Which pieces should stay out of the foil bath?
| Piece | Foil bath? | Why |
|---|---|---|
| Plain modern sterling flatware without hollow handles | Acceptable with care | Solid metal and no finish to protect; rinse, dry and buff afterwards |
| Silver-plated tableware (EPNS, A1 or marked “silver plate”) | No | The plating is thin; any tarnish removal can damage it and buffing removes more |
| Old Sheffield plate | No | Fused silver on copper; the copper already shows through at points of wear |
| Hollow-handled knives, weighted candlesticks, trophies, teapots | No | Sealed hollow components must not go into any liquid |
| Pieces with wooden, ivory, bone or felt parts | No | Non-metal parts must stay dry |
| Gilded or parcel-gilt silver | No | Gilding is a thin surface layer that polishing damages |
| Oxidized or niello-decorated silver (common 1840 to 1950) | No | The dark finish is intentional and, like tarnish, sulfide-based |
| Antique or hallmarked pieces you may sell or insure | No | Surface history matters to specialists; ask a conservator first |
Old Sheffield plate deserves its own line because it is a fusion of copper and sterling silver, and its characteristic identifying feature is the ‘bleeding’ or ‘show through’ of the copper base at points of wear. Every cleaning cycle widens those pink patches, and no bath can put the silver back.
The reaction is aimed at silver sulfide; pewter and other tin alloys tarnish differently and need their own approach, a difference explained in does pewter tarnish like silver.
What Are the Red Flags That Silver Has Been Ruined by DIY Cleaners?
No surface feature proves that a piece went through a foil bath, but several features point to aggressive cleaning of some kind:
- Uniformly bright recesses. The CCI notes that objects cleaned with a chemical dip often look “new” because there is no tarnish left in the deeper recesses of the design. On chased or embossed antique work, recesses as bright as the high points suggest a dip or bath rather than hand polishing.
- A greyish, matte bloom. Electrochemical reduction leaves the recovered silver as rough particles that leave a dull, matte finish until it is buffed.
- Copper showing through. Pink or coppery tones on rims and high points are the base metal of worn plate. On Old Sheffield plate that ‘bleeding’ or ‘show through’ of the copper base is expected at points of wear, and further cleaning enlarges it.
- Irregular dull grey patches on sterling are often fire scale, a copper oxide layer formed during manufacture that can be uncovered later by repeated polishing.
- Green residue in crevices is usually old polish. Many commercial polishes contain ammonia which will dissolve copper from sterling or from the base metal, and trapped residue turns green.
None of these is proof of a particular method, and none lowers value by a fixed amount. If you are deciding whether to buy, sell or insure a piece, have the surface assessed in person; our guide to how to tell if an antique is worth money explains what appraisers look at.
How Should You Properly Clean Antique Silver to Maintain Its Appraisal Value?
Museum practice starts with a decision, not a product. Tarnish need not be removed before storage, and it is usually recommended that tarnished silver be left unpolished unless cleaning is required for exhibit or display. When cleaning is justified, the CCI and the conservators at Winterthur describe essentially the same sequence.
- Examine first. Look for marks that show whether the piece is solid or plated, check for hollow sections, solder joins, gilding and attached materials, and decide what the surface should look like when you finish. Handle it in clean cotton gloves or nitrile gloves; skin salts and oils mark silver.
- Wash gently. Use a drop of mild dishwashing detergent in water and a soft brush to lift old polish from crevices, keeping any organic components such as ivory or wooden handles dry. Rinse and dry completely with soft cotton.
- Light tarnish: a cloth. A silver polishing cloth, or a plain cotton velvet buffing cloth, handles light tarnish with the least metal loss.
- Heavier tarnish: a mild paste. Mix precipitated calcium carbonate (precipitated chalk) with water to form a thick paste, as described in the CCI polishing note, and rub gently with a cotton pad using a circular motion where possible, changing the pad as it darkens. The research the CCI cites concludes that it is less damaging to clean silver with a mild abrasive over a longer period of time than with a more aggressive material for a shorter time. Do not use general, multi-purpose metal polishes on silver.
- Stop early. Even after all the tarnish has been removed, the pad will still turn dark as the abrasive removes silver from the surface, so inspect often and leave deliberate dark recesses alone.
- Rinse off every trace of polish, dry, and store or display the piece in dry conditions (below 50% RH) wrapped in acid-free tissue or anti-tarnish cloth; a sealed bag slows tarnish far more than any polish does.
Skip lacquer and wax at home: lacquering or waxing is not recommended for silver because an uneven coating can make later tarnish worse than no coating at all. Skip chemical dips on anything hollow or decorated; where a dip is used at all, the safer practice is to apply the dip locally using a cotton swab and rinse, rather than immersing the piece.
The surface of an antique is part of its record: intentional finishes, fire scale and the scratch pattern of use all tell a specialist how the piece has been treated. Conservators remove tarnish deliberately and only when display requires it. For anything you value, a soft cloth, low humidity and patience protect the piece better than a kitchen trick does. For the full range of options, see our guide to safe silver tarnish removal for valuable pieces.
Frequently Asked Questions
Does baking soda damage silver?
Dry baking soda is a mild abrasive: a manufacturer recommends a paste made from baking soda with minimal water as a gentle scouring powder, and any abrasive takes a little silver off with the tarnish (see sodium bicarbonate). Dissolved in water it is only mildly alkaline and does not attack silver by itself. The harm people associate with the foil trick comes from the whole procedure: immersing pieces that should never be wetted, stripping intentional dark finishes, the matte surface it leaves, and the buffing that follows.
Is the baking soda and aluminum foil method safe for sterling silver?
For plain, solid, undecorated sterling with no hollow parts, yes, provided you rinse and buff afterwards and accept that it may tarnish more quickly than silver that has been polished. For sterling with an oxidized finish, niello, gilding, stones or attached materials, and for anything you would call an antique, no.
Is the foil method safe for silver-plated items?
No. Plate is a thin layer of silver over copper, nickel silver or another base metal. The CCI’s position is that if the object is silver plated, any method of tarnish removal may be very damaging, and that on plated pieces polishing can damage the thin layer of silver plating, or even remove it entirely. If plate must be cleaned, a polishing cloth with light pressure is the least destructive option.
Does baking soda contain aluminum?
No. Baking soda is sodium bicarbonate, NaHCO3, and contains no aluminum (aluminium in British spelling). The confusion comes from baking powder, which is a mixture of a carbonate or bicarbonate and a weak acid; some formulations use acid salts such as sodium aluminium sulfate, sodium aluminium phosphate or sodium acid pyrophosphate, which is why aluminium-free baking powders are sold. In the foil method the aluminum comes from the foil, not from the powder.
Does cleaning silver reduce its value?
Every cleaning removes some metal: each polishing or chemical tarnish removal takes away a certain amount of underlying silver along with the surface layer of tarnish, and after many cycles of tarnishing and polishing, so much silver may be removed that fine detail on the object is lost. On a collectible piece the larger loss is information: an intentional finish, fire scale history and the scratch pattern of use. How much that changes a price depends on the object and the buyer; there is no fixed percentage, and a figure quoted without a documented sale is a guess.
What is the safest way to clean antique silver at home?
Dust it with a soft brush, wash it only if it has no hollow or organic parts, and buff light tarnish with a polishing cloth. For heavier tarnish use a precipitated calcium carbonate paste on a cotton pad, stopping often. Do not dip, wax or lacquer it, do not immerse composite pieces, and do not try to make a historical object look mirror-new. If the piece is valuable, hallmarked or decorated, ask a conservator before doing anything.
Can the aluminum foil and baking soda method remove hallmarks?
The reaction itself removes no metal, so it cannot erase a struck mark. What softens marks is abrasive polishing repeated over years, and buffing the matte surface the bath leaves behind adds one more polishing cycle each time you use it. Keep polish away from marks, and never brush a piece while it sits in the bath.
